These Breathtaking Vodka Gift Sets are the Best on the Market! Vodka, often overshadowed by heavyweights like whiskey, bourbon, and scotch, is a remarkable beverage deserving more recognition. Its versatility … Read more
Finding the ideal holiday gifts for the men in your life can be quite the challenge. Dad insists he doesn’t need a thing, your brother is clueless about what he … Read more
They’re about to graduate from the police academy, and you’re so proud of them! You want to show the new police officer just how impressed you are with their hard … Read more
Three years is a big deal, so you want to make your upcoming anniversary seriously count. At this point you know exactly what he likes, which gives you the fire … Read more
Your groomsmen are your closest friends and they deserve a fantastic gift as a thank you for being by your side from the day you met all the way up … Read more
We all know that “it’s the thought that counts” when buying a gift, but you also have to consider your budget. But that doesn’t mean that an inexpensive gift isn’t … Read more
There are so many things going on before a wedding it’s hard to keep track, especially groomsmen’s gifts. Including groomsmen knives is a great option for a number of reasons, … Read more
Rum is one of your favorite liquors. Whether you’re drinking it by itself or in a cocktail, you deserve to get the most enjoyment out of it! That’s why you … Read more
It seems like just yesterday you married the love of your life, and now it has been 15 years. You’ve bought him a gift every year on your anniversary, but … Read more
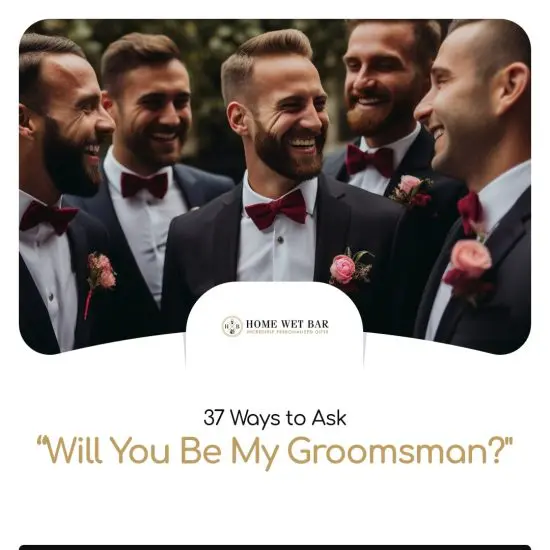
Wondering how to ask groomsmen to be in your wedding in a unique and awesome way? We know that it can be tough to figure out the best way to … Read more
Our men and women in the Armed Forces are brave, incredible people. After their many years of service to our country, they deserve a nice gift to congratulate them on … Read more
Can you believe your dad is turning 60 years old? He’s almost to retirement and is enjoying his golden years, but you’re not really sure what to get him as … Read more
Now that your 10 year wedding anniversary is here, you’re probably trying to figure out what to get that could top your previous gifts. According to etiquette, the traditional 10 … Read more
It’s hard to believe an entire year has passed since the day you said “I do!” Naturally, you should celebrate this first milestone in your marriage with a nice gift! … Read more
Shopping for 70th birthday gifts for men might feel light a daunting task, but we’re here to help! You want to get a birthday gift you know he’ll care about. … Read more
You still remember the first sip of whiskey you ever had. Your life was forever changed. Back then, you had no idea what rocks glasses or even the best and … Read more
Bourbon is an all-American type of whiskey that many people enjoy straight, in cocktails, or even for tastings. When it comes to giving a bourbon gift set, you might think … Read more
It seems like it was only yesterday when you and the love of your life tied the knot! It’s hard to believe it’s been 25 years since that wonderful day. … Read more
There are many occasions for giving corporate gifts for clients: thanking them for their business, celebrating a milestone for the company, or even welcoming new clients to your business. Whatever … Read more
It’s never easy to find unique gifts for men. Guys can be pretty difficult to shop for, but that’s where we come in! The best gifts for men should be … Read more